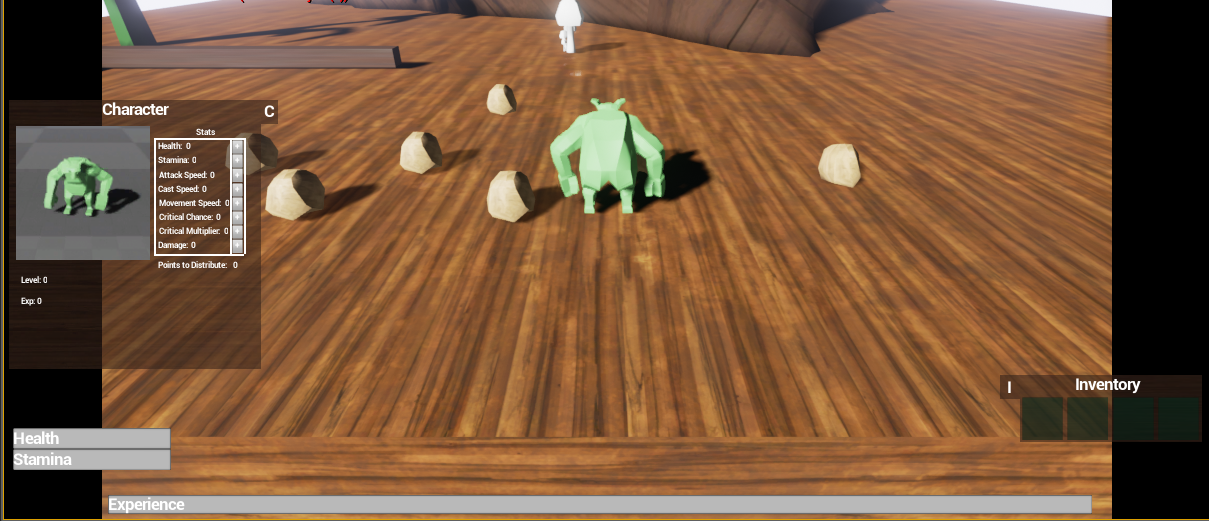
This week has been about finishing up the character selection (the programming part) and figuring out how to save and load a game since we will be able to unlock characters we kill in our game so we needed some way to track that as well as all the regular data that needs to be saved like stats on your character and such.
Now the player can choose a character, click the new game button and can then add a name and press play to play as that character.

The game saves the selection and name for the next time the game is played. When the player returns he or she can choose to continue with the saved character or press the new game button.

If the player unlocks a new character in the game it will be available in the menu like this gnome character below. Here you can see that no name is displayed and only the New Game Button is available.

There is quite a lot of code that goes in behind all this...or should I say visual code perhaps since all is done using Unreal's Blueprints. I won't go into all that but I will mention the saving part of this.
First I created a SaveGameObject that holds all the data that needs to be saved. I then added code in our Gamemode Blueprint that handles loading and saving to and from this SaveGameObject.
The first step the GameMode does in it's "Begin Play" Event is checking if a save game file exists on the computer by calling the below function. If it doesn't it creates a SaveGameObject that will use my SavegameObjects data and then save and load that to file. So Unreal has built in functionality for this.
So first "Does Save Game Exists" is called. If a save game file exist it calls "Load Game From Slot" and cast it and set that to my SaveGameObject I created. If it doesn't it calls "Create Save Game Object" and cast it and set it to my SaveGameObject . After that I "Save Game To Slot" to actually save the game to file so I have it there for next time even if no info is added at this point.

Then I have two functions called LoadData and SaveData that basically works similar to the picture above but only do just what the name implies.
Here is a link to Unreal's documentation on the matter: https://docs.unrealengine.com/latest/INT/Gameplay/SaveGame/Blueprints/index.html
A note. I have had some problems with saving data into my SaveGameObject before the actual save is made so I have gotten some strange results and I highly recommend using breakpoints and Print string functions so you see for sure that all data is saved and loaded correctly.
The trouble I had was adding an array of an Actor component to the SaveGameObject which didn't work too well since my SaveGameObject is not an Actor, at least I think that was the problem. I couldn't access the contents of the Actor components so in the end I replaced that with an array of a Blueprint structure to hold all my data instead. It works much better now but its a bit tedious with the structure to access its members and setting them but it works.
If you have any question regarding saving and loading using Unreal's Blueprints feel free to ask by writing a comment.